
The NC Candid Critter Project is a multi-collaborative effort between the NC Wildlife Resources Commission, NC State University, NC Museum of Natural Sciences, State Library of NC, NC Cardinal, Public Libraries of North Carolina, and the Smithsonian. The project actually began in December of 2016, and one of main objectives that the project has is the collection of data for management and answering conservation questions for the North Carolina Wildlife Resource Commission. Specific information, main objectives, and more can be found here.
The project allows for citizens to use their own game cameras, from a pre approved list of brands and types, to be posted on private and public land for 2-3 week deployments, depending on the time of year. If you don’t have a camera or you don’t own one on the approved list, there are many local libraries that will allow volunteers to check out either Reconyx or Bushnell cameras for a 3 month period using their local library card.
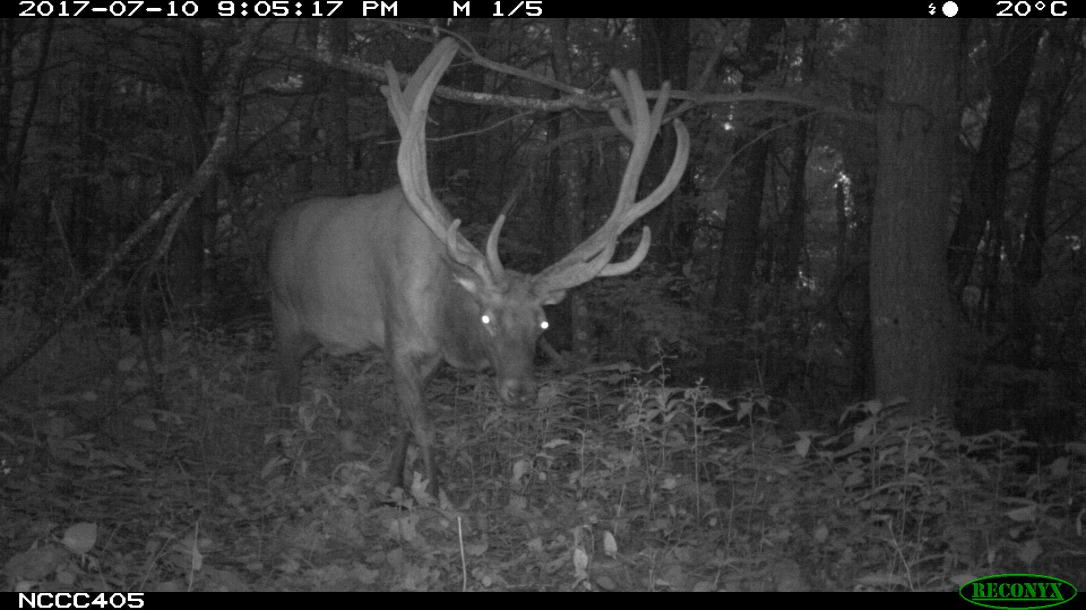
Since this project started in 2016, there are already some really cool photos that you can check out here. Personally, I think this is an incredible project that gives us lots of insight on the wildlife within our state. For example, elk were transplanted in North Carolina in the early 2000’s. Elk transplanting and reintroduction isn’t new in the east as many states have reintroduced elk back into their states where elk once ran free. Looking at the photos I found it breathtaking to see collared elk, big bulls, and even calves on the cameras in a neighboring county!
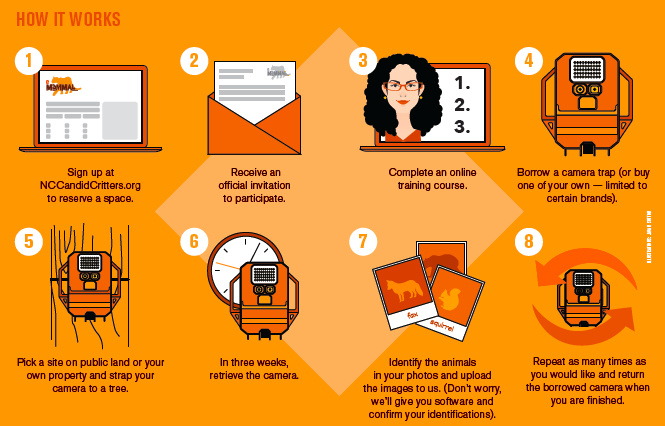
Signing up to volunteer is easy! I just had to follow this link and fill out a Google Form that asked me some basic demographic questions, as well as if I wanted to check out a camera from a library. I then had to complete a short online orientation training that explained how the cameras work, how and where to place your camera, as well as safety basics when placing cameras. There was a short test at the end that I had to pass as well.
Once I passed my orientation exam I was placed on a spreadsheet at the Henderson County Public Library that would allow me to check out a camera. Even though I don’t live in Henderson County, I was able to use my local county library card to check out the camera.
My camera came in a shoe sized plastic bin. The bin had the camera, a cable lock with a key, extra batteries, and two 8 GB SD Cards. I then had to choose a site to set my camera up at. I looked at the site selection map (thanks GIS!) and picked a spot in the Pisgah National Forest, not far from the Appalachian Trail. My boyfriend is also participating in this project and found a site in the same general area as myself. Once we picked out our spots on the map we had to fill out another Google Form to claim our site as well as marking down GPS coordinates as our cameras needed to be deployed within 50 meters of the GPS coordinates.
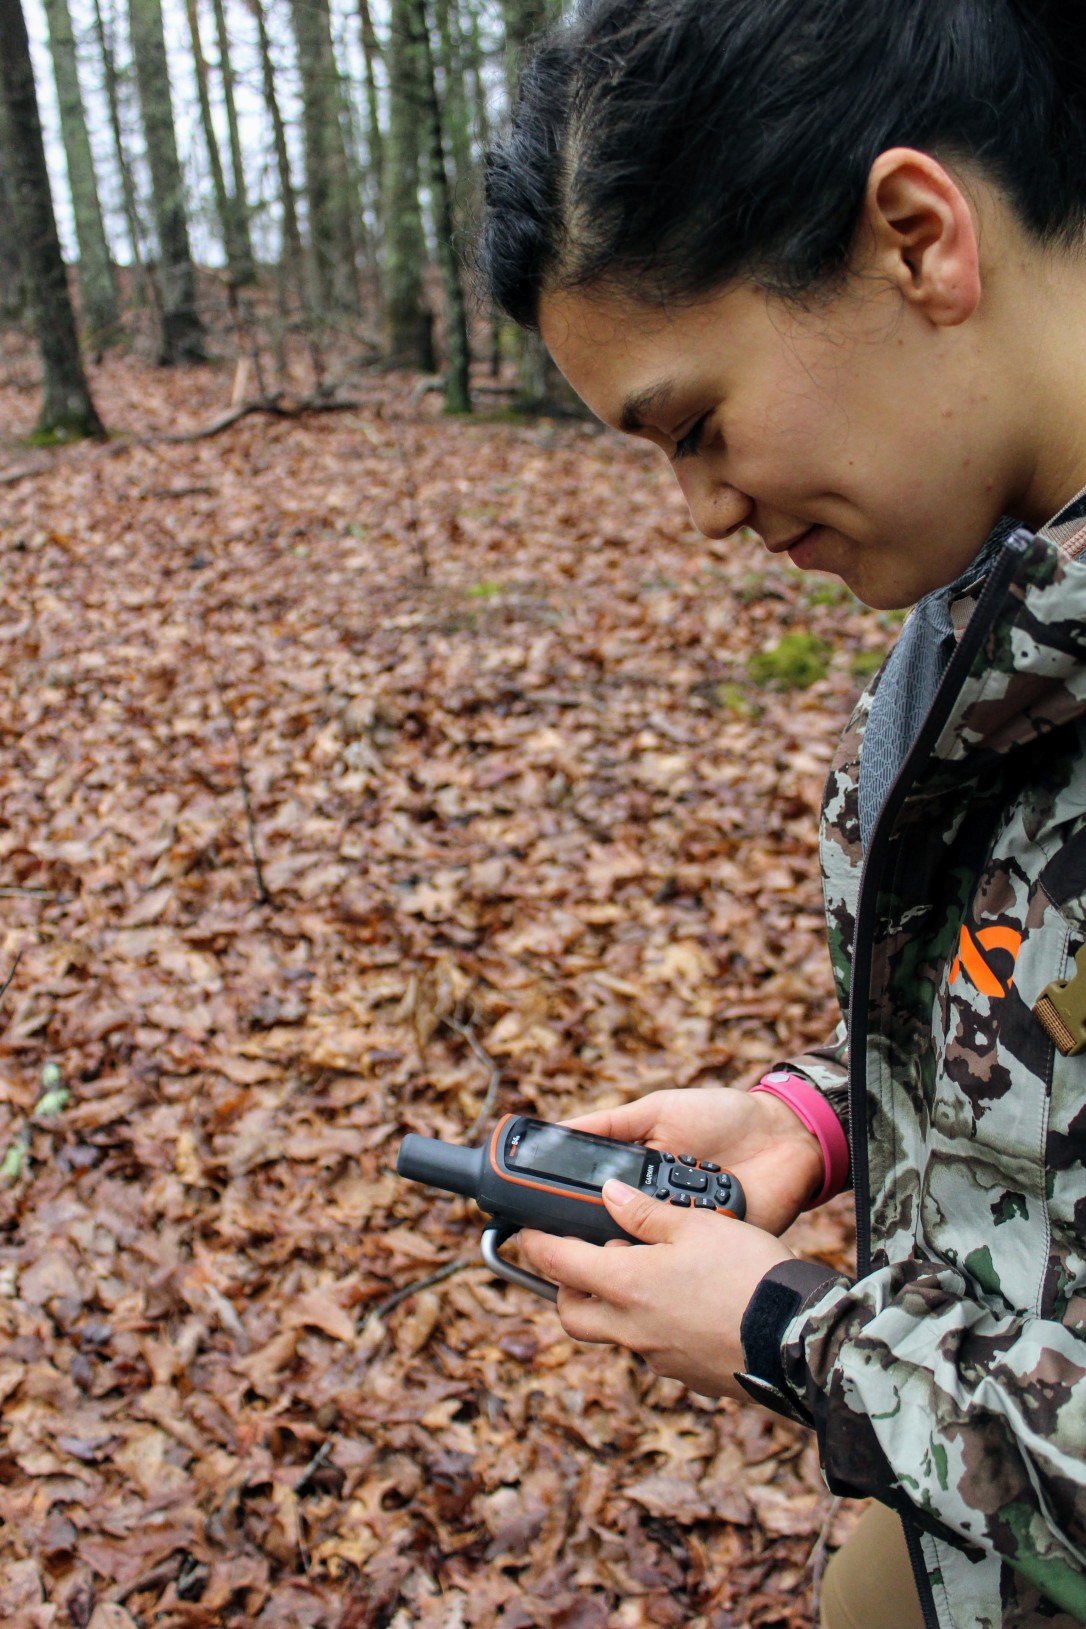
Setting the cameras was simple! We were hanging cameras in areas we were familiar with through scouting and/or hunting and I had made sure my date and time were correct before leaving the house.


I set the camera at knee height, cleared any vegetation that would obscure the photos, and did a walk test to determine the range of detection for the camera I set. My boyfriend helped me clear some of the overhanging limbs I couldn’t reach.
All of this information was collected on a data sheet that will accompany the photos once we’ve collected them at the end of the three week deployment. We did have to pose in front of our cameras before we left to verify that we set the camera and it wasn’t someone else.


I only have a few constructive criticisms for a few aspects the project. First off, finding a camera site can be easy but navigating the site selection map can be difficult. I had to navigate through several basemap layers to get my bearings. I have some experience with maps and finding the spot I knew I wanted was difficult even though I knew what I was looking for.
The other road block we ran into was actually a road closure. We checked the USDA-Forest Service closure page before we left to deploy our camera (which is highly recommended by the NCCC crew) and didn’t see a road closure listed for the area where we were going. Unfortunately we got to the road head and the gate was closed. This just resulted into a hike that was a couple of miles, which was nice but, some forewarning would have been nice as well.
We haven’t used the software and haven’t uploaded any pictures yet so I don’t have any commentary on that yet.
Even if you don’t hunt but you love the outdoors, or you want an excuse to get outdoors more often and you live in North Carolina, I would highly recommend volunteering in this project. The Candid Critters Team makes this project accessible for those who are new to the outdoors all the way up to those who have spent their whole lives mountaineering, hunting, or fishing. They are also accessible via email and respond quickly as well as having an extensive FAQ page on their website.
I’ll be posting some of our pictures after each deployment here so stay tuned to see what our camera traps come up with!

Looking forward to the coming pictures!
LikeLike
Neat project.
LikeLike
Great post! Having done the Candid Critter project myself, I found your explanations very clear and concise. Hope you get some great photos!
LikeLike
Thanks so much Carlyn! Check back in a few weeks to see some of the pictures.
LikeLike